Work with Pull Requests
Pull requests are used in open-source projects or in some corporate workflows to manage changes from contributors and to initiate code review before such changes are merged.
By creating a pull request, you tell others about the changes you want to push to the original repository, so that the maintainers of that repository can review your changes, discuss them, and integrate them into the base branch.
Create a Pull Request
In the main menu, go to Git | Azure DevOps | Create Pull Request. The Pull Requests tool window opens with a pull request draft.
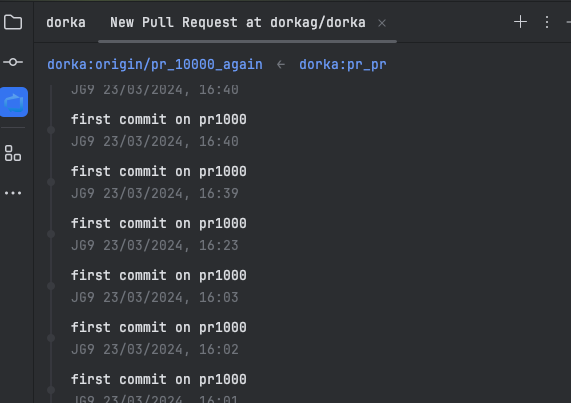
Alternatively, open the Pull Requests tool window and click
Create Pull Request in the top-right corner.
In the , the repository on the left is the target repository that will receive the updates. The repository on the right is the source repository with the changes that will be added to the target repository.
Click the name of the target repository on the left. In the popup that opens, specify the branch to which you want to apply your changes.
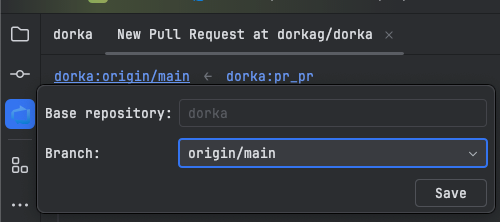
Click the name of the source repository on the right. In the popup that opens, specify the branch that contains the changes you want to apply.

If you have a project that uses multiple remote repositories, you can change the head repository in this popup as well.
Specify the name for your pull request in the Title field, and, optionally, provide a description of the changes to be applied through your request.
Optionally, add reviewers, assign your pull request to someone, add a label to your pull request or associate a work item with your pull request.
Click
If you are not yet ready to push your pull request, you can save it as a draft.
Click on
next to the button.
In the menu that opens, select
Manage incoming pull requests
If you're a project maintainer, and you have an Azure DevOps remote configured for your project, you can view and manage incoming pull requests directly from a JetBrains IDE.
To view incoming pull requests, select from the main menu.
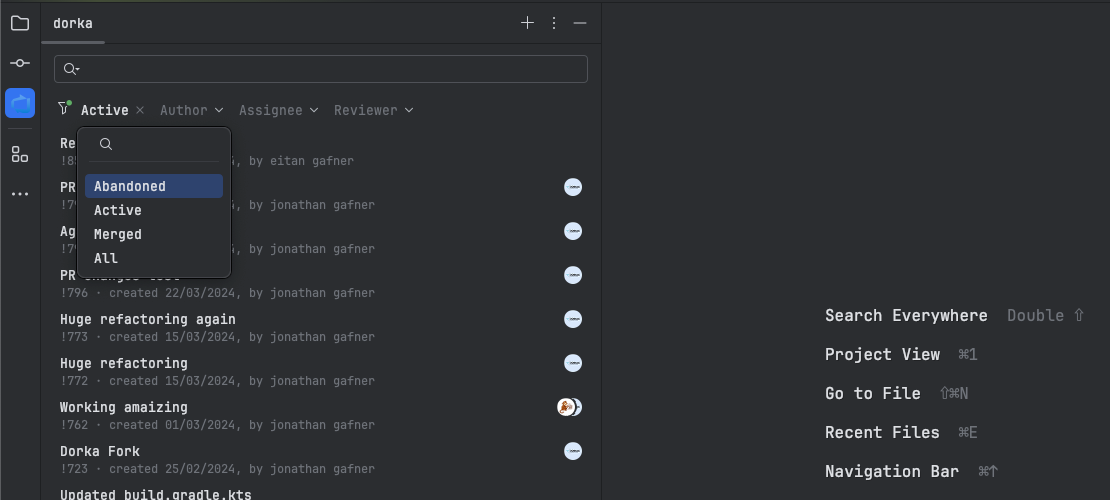
Use the tool window to:
by state, author, reviewer, source or target branch.
using the following options:
Sort by creation date (oldest first)
Sort by creation date (newest first)
Sort by last update date (oldest first)
Sort by last update date (newest first)
Sort by title (A-Z)
Sort by title (Z-A)
: select a pull request and choose from the context menu.
between the suggested changes and the base revision: click the name of a pull request, select a file and double-click it or press ⌘Cmd D.
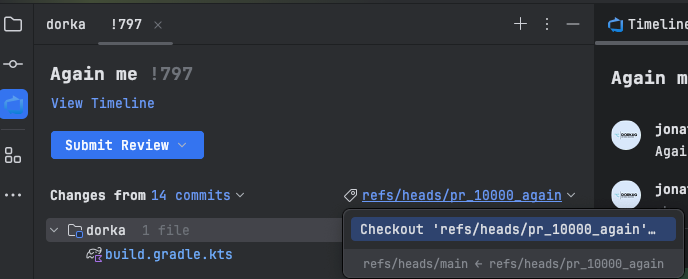
based on incoming changes: open a pull request, click the branch with incoming changes and choose in the context menu.
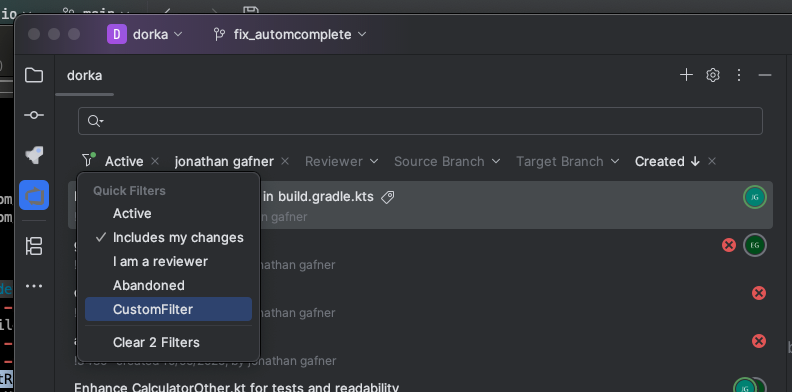
Customize View
by clicking on from the top right-wheel button. This allows you to create a custom filter with a personalized name using any combination of the available filter options and save it for future use.
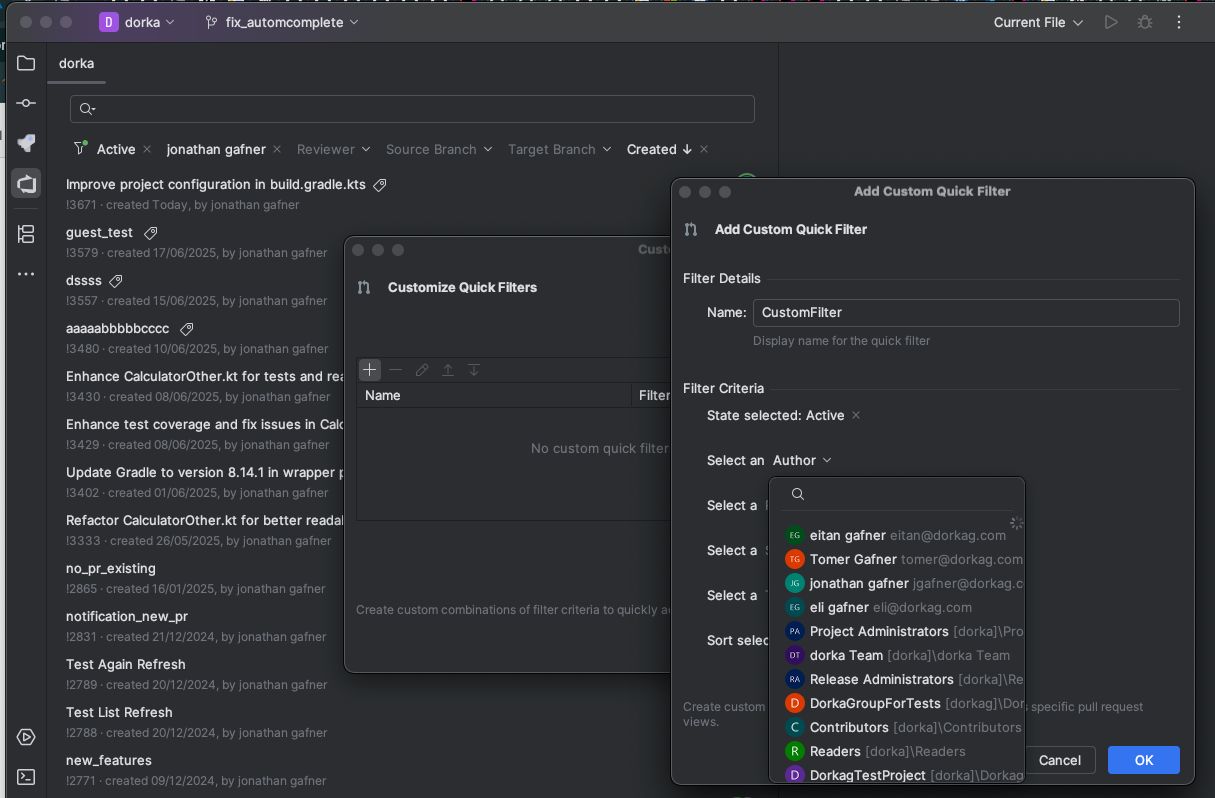
Once saved, your custom filters will appear under the quick filter action in the PR tool window toolbar for easy access.
