JirAI: Sign in and manage your account
JirAI connects to one Jira Cloud site with your Atlassian account e-mail and an API token.
Sign in from the tool window
Sign in to Jira Cloud
Before you start, create an API token with Create API token on the Atlassian API tokens page.
Do not use Create API token with scopes: JirAI cannot sign in with a scoped token.
Open the JirAI tool window on the left side of the IDE.
When you are not signed in, it shows Connect to Jira.
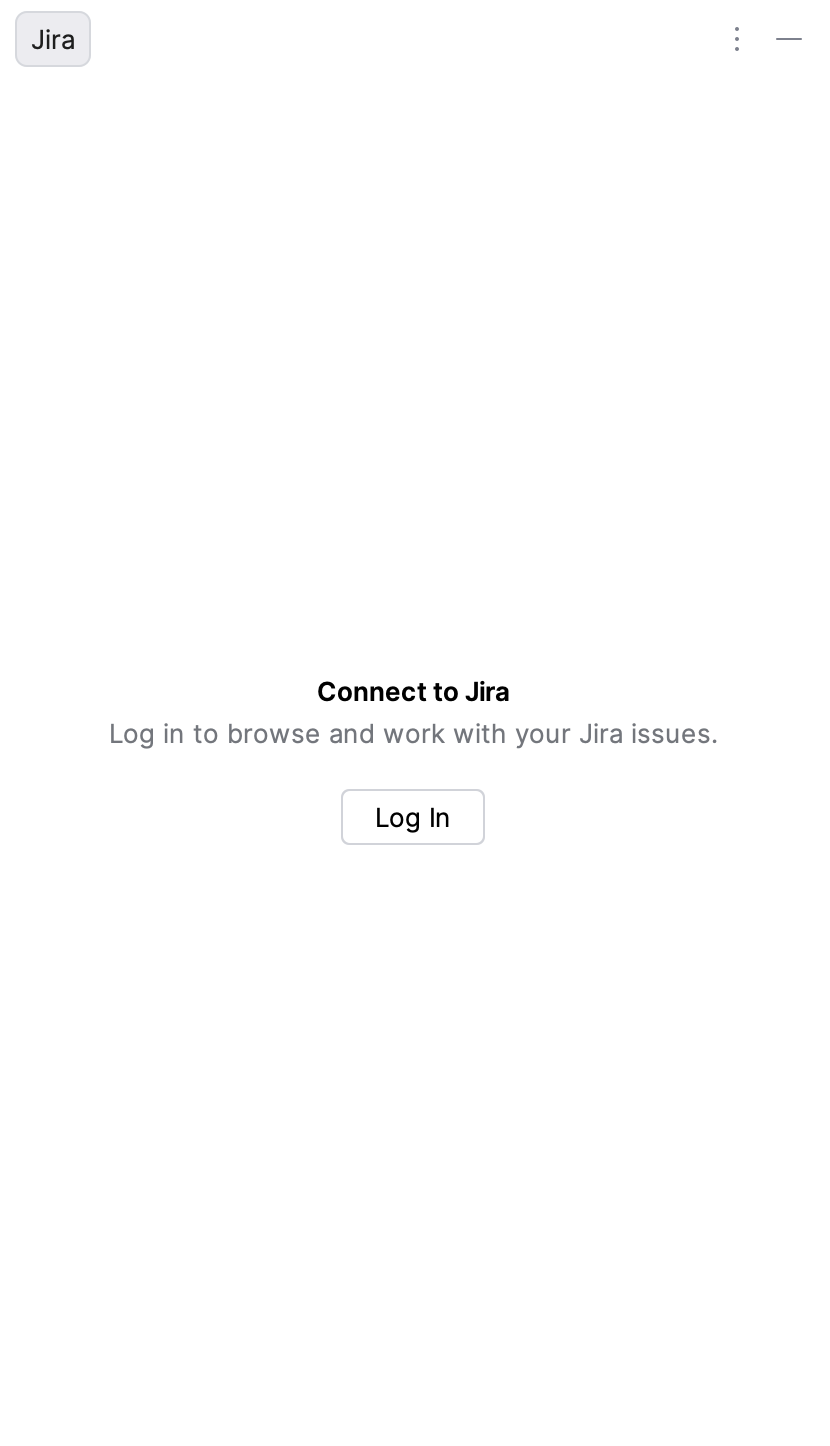
Click Log In.
In the Log in to Jira dialog, fill in the fields:
- Server
Your Jira Cloud site, for example
demo-org.atlassian.net.A bare host name is enough, and an
https://address copied from the browser also works.JirAI refuses
http://addresses, because the token would travel unencrypted.The e-mail address of the Atlassian account that owns the API token.
- Token
The API token. The Generate an API token link below the field opens the Atlassian page where you create one.
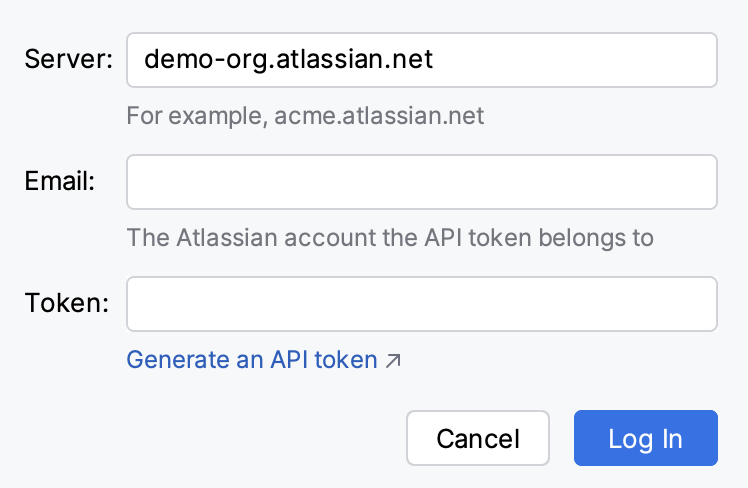
Click Log In.
JirAI checks the credentials with Jira before it stores anything.
When the check succeeds, the tool window lists the issues assigned to you.
To list other issues, see Filter the list.
If sign-in fails
The Log in to Jira dialog shows why the sign-in failed:
- Jira rejected those credentials. Check the email address, and that the API token is current.
Check that Email is the address of the Atlassian account that owns the token.
Check that the token has not expired or been revoked, and that it was created without scopes.
If in doubt, create a new token.
- Those credentials are valid but do not have access to this site.
Ask the site administrator for access, or sign in to a site your account can use.
- No Jira site responded at that address, or it is not visible to you.
Check the spelling of Server, for example
demo-org.atlassian.net.- Could not reach Jira. Check your network connection.
Check the spelling of Server, your network connection and the IDE proxy settings.
- Could not reach Jira: the HTTP proxy requires credentials. This is not a problem with your Jira token.
Enter or correct the proxy password in the IDE's HTTP Proxy settings, then try again.
- Jira is rate-limiting requests right now. Wait a moment and try again.
Wait a minute, then click Log In again.
Manage the account in Settings
You can also sign in and sign out without opening the tool window.
Sign in or out from Settings
Open .
In the Account group, do one of the following:
To sign in, click + and complete the Log in to Jira dialog.
To sign out, select the account, click − and confirm.
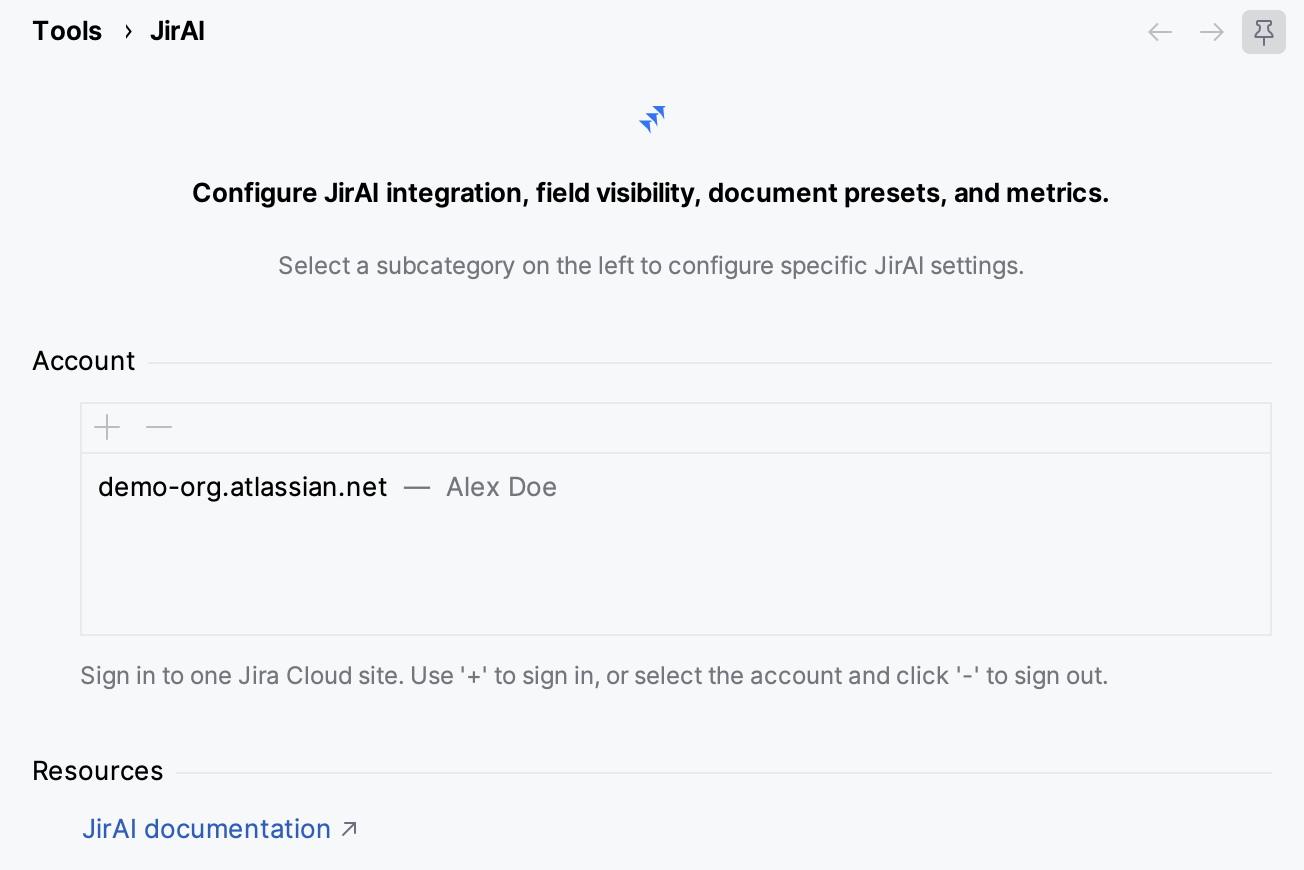
The Resources group on the same page links to this documentation.
See the connected site and sign out
The tool window's options menu (⋮) shows the connected site and the account you are signed in as, for example demo-org.atlassian.net — Signed in as Alex Doe.
Sign out from the tool window
In the JirAI tool window, click the options menu (⋮).
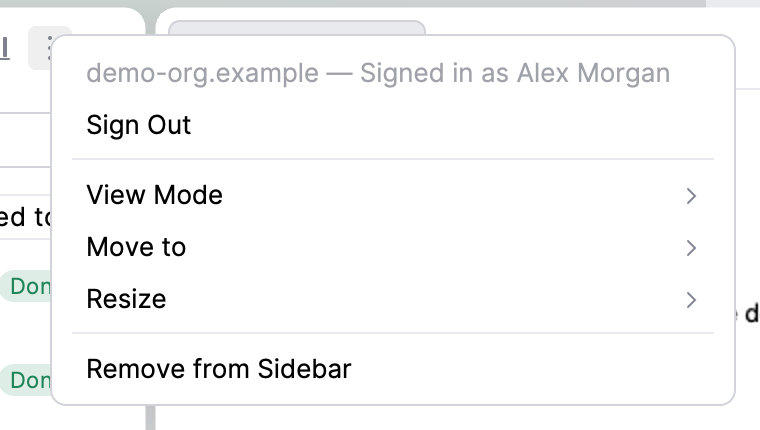
Choose Sign Out.
Signing out removes the stored API token.
It keeps your hidden fields, Doc Push targets and house standard, which apply again when you sign in to the same site.
JirAI connects to one site at a time.
Switch sites or replace the API token
Use this procedure to connect to a different Jira Cloud site, or when your API token expired or was revoked.
An Atlassian API token expires on the date chosen when it was created, at most one year later.
If you need a new token, create it first on the Atlassian API tokens page.
In the JirAI tool window, click the options menu (⋮) and choose Sign Out.
Alternatively, select the account in , click − and confirm.
In the tool window, click Log In.
In the Log in to Jira dialog, check Server and Email, which JirAI fills in from your last sign-in.
If you switch sites, change them.
Paste the API token into Token and click Log In.
Where JirAI stores credentials
The API token is stored in the IDE credential store, which is the operating system keychain or the IDE's KeePass file, depending on the IDE's Passwords setting.
The token is never written to an XML file.
The site address, your e-mail, display name and account ID are stored without secrets in jira-sites.xml in the IDE configuration directory.
Under Remote Development, the token and jira-sites.xml stay on the host.
Use JirAI behind a corporate proxy
JirAI uses the IDE proxy settings in .
Under Remote Development, requests run on the host, so the host's proxy settings apply.
For an authenticating proxy, JirAI uses the proxy credentials the IDE already has and does not open its own password prompt.
When the proxy rejects the credentials, the error names the proxy rather than Jira.
JirAI does not support SOCKS proxies: when the IDE is set to a SOCKS proxy, JirAI connects to Jira directly, without the proxy, which fails on a network that allows only proxied traffic.
Behind an authenticating proxy, user avatars might not load, because they are fetched without credentials.
If sign-in through a proxy fails, enter or correct the proxy password in the IDE's HTTP Proxy settings and try again.